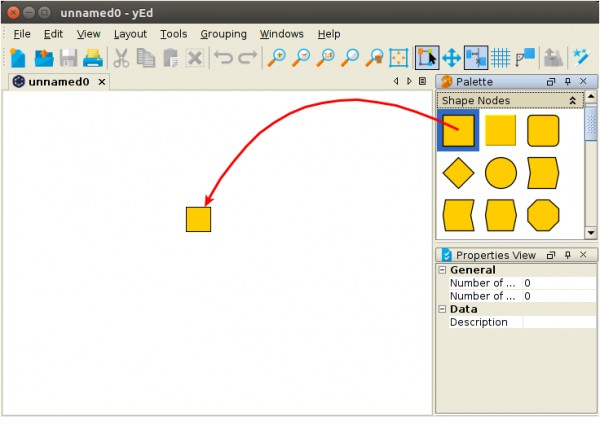
yEd offers several ways for creating new elements. The most obvious one is dragging a template from yEd's palette into yEd's editor area:

When creating an element in this way, it is absolutely clear how you want the new element to look.
However, when you create an element in a different way, like e.g. connecting two nodes by dragging the mouse from one node to the other or grouping several selected nodes using the "Grouping" -> "Group" action, yEd needs some way to determine what you want the new element to look like. And that way is the default style (sometimes also called the default template). Actually, there are several default styles, not just one. The default styles are the ones with a dark blue background in yEd's palette.
There is a default style for normal nodes

for opened and closed group nodes

and for edges

You may change a default style by either double-clicking a different style template in yEd's palette or by opening the context menu of a style template in yEd's palette and choosing the "Use as Default" entry. (You can open the context menu of a style template by right-clicking the corresponding template in yEd's palette.)
Changed default style for normal nodes:

You may also use a custom style as your default style like so:
- Create an element in yEd's editor area.
- Modify the visualization of the new element as desired.
- Create a user-defined palette section (see "Edit" -> "Manage Palette").
- Right-click the new element to open its context menu.
- Choose "Add to Palette".
- Go to the new user-defined palette section and double-click the new style template.
Custom style as default style for normal nodes:
